- Home
- How a project runs
From brief to handover
How an ELV design project runs
We stay on the project from the first conversation with the client and the architect to the day the systems are handed over. The design is settled first, then priced fairly, then built right.
- AAt the design stage
- Approval
- BThrough execution
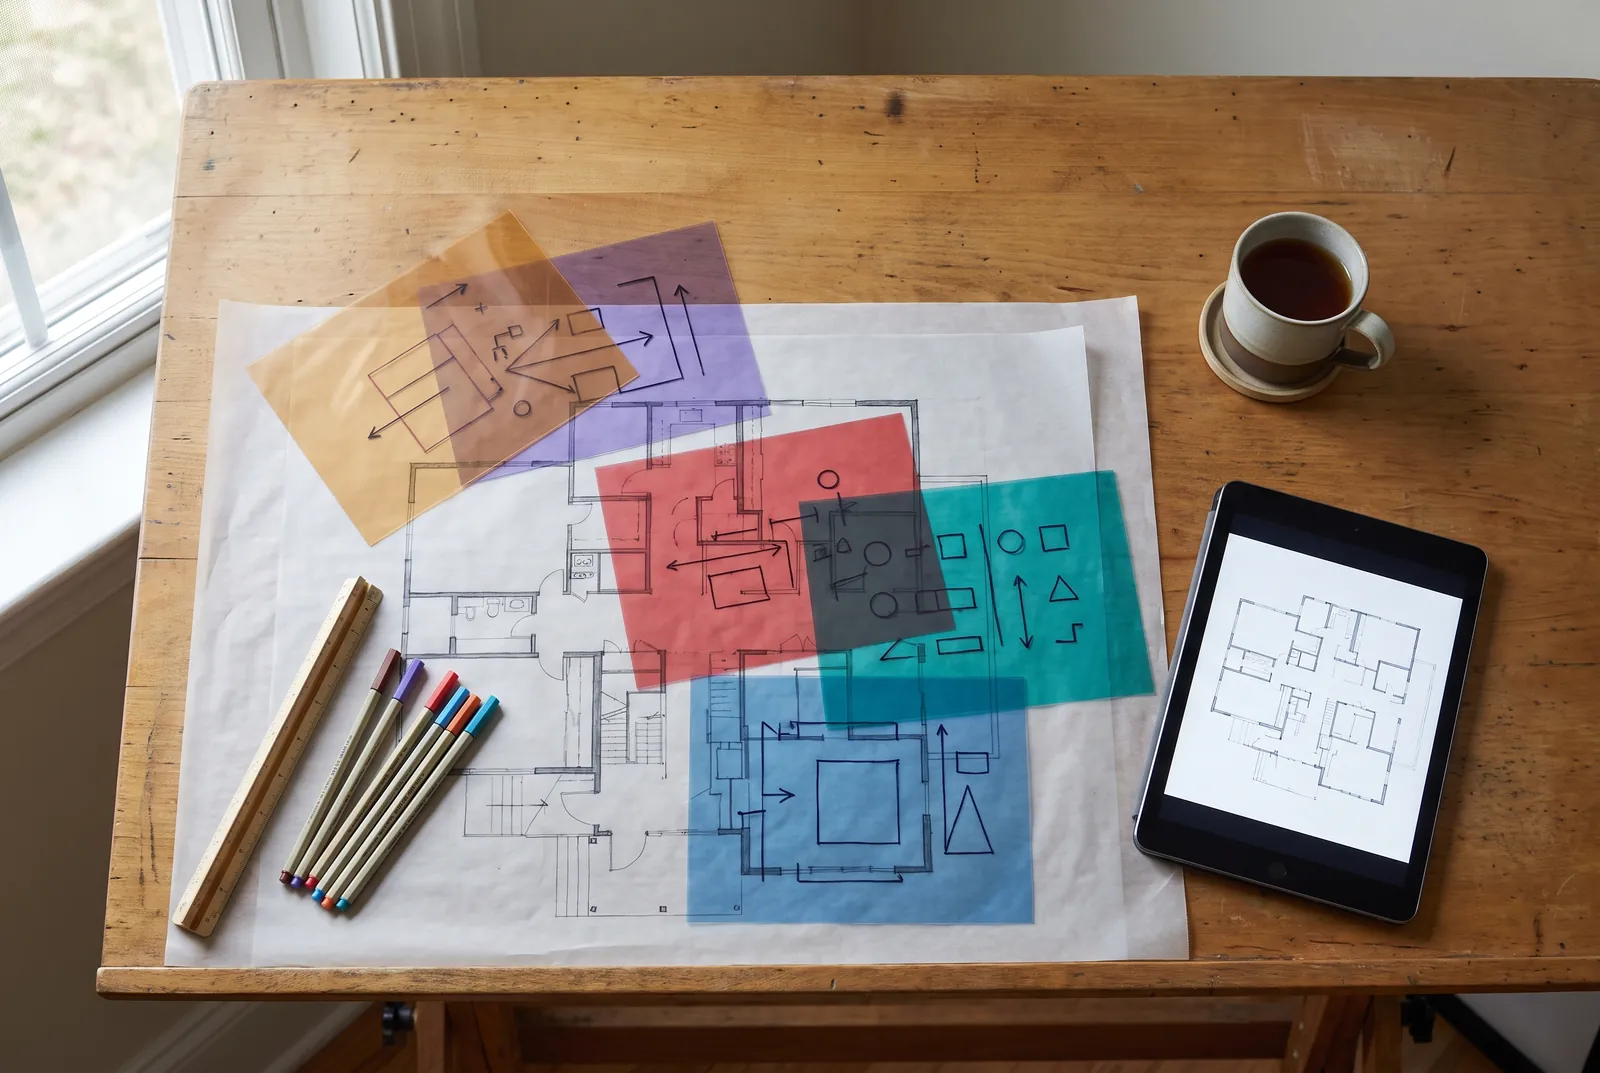
01Our approach
Lifestyle-centric design
We plan each system around the people who will use the space. The result is the right technology for the room, in proportion to the budget and the lifestyle of the client.
Requirements
How the space will be lived in, worked in or visited, captured from the client and the architect.
Budget
An estimate made at the design stage, so the plan fits the money before anything is bought.
Feasibility
What the space, the structure and the other services can actually accommodate.
02Step by step
From the first conversation to the handover
Five steps shape the design while the architecture can still make room for it. Once the client and the architect approve it, four more carry it through tender and onto site.
Phase A
At the design stage
While walls, ceilings and risers are still lines on a drawing, every system can be given its place, its cable route and its share of the budget.
-
Step 01 · Design stage
Capture the requirement
From the client and the architect: how the space will be used, and what it needs to do. We listen for the lifestyle behind the brief: who uses each room, when, and what they expect to see, hear and control.
Sheet P-01 · The brief -
Step 02 · Design stage
Analyse the site
A complete study of the site, coordinated with the other consultants: interiors, landscape, HVAC, electrical and more. Ceiling voids, risers, wall space and structure are checked so every system has room to go.
Sheet P-02 · Site analysis -
Step 03 · Design stage
Research and design the solution
Systems, technologies and products researched and designed against the requirement. Options are compared on what they do for the space, never on whose brand is on the box.
Sheet P-03 · Options and design -
Step 04 · Design stage
Estimate the budget
A cost for the whole design, before anything is bought. Seeing every system in one estimate shows where the money goes, and what to adjust while the design can still change.
Sheet P-04 · Estimate -
Step 05 · Design stage
Present the solution design
A detailed presentation to the client and the architect. The layers are shown on the architect’s own drawings, so everyone can see what goes where, and why.
Sheet P-05 · Presentation
Gate · Before execution
Client and architect approve the design
Nothing moves into execution until the design and the budget are agreed. From here on, the approved design is the reference every vendor and contractor works to.
Phase B
Through execution
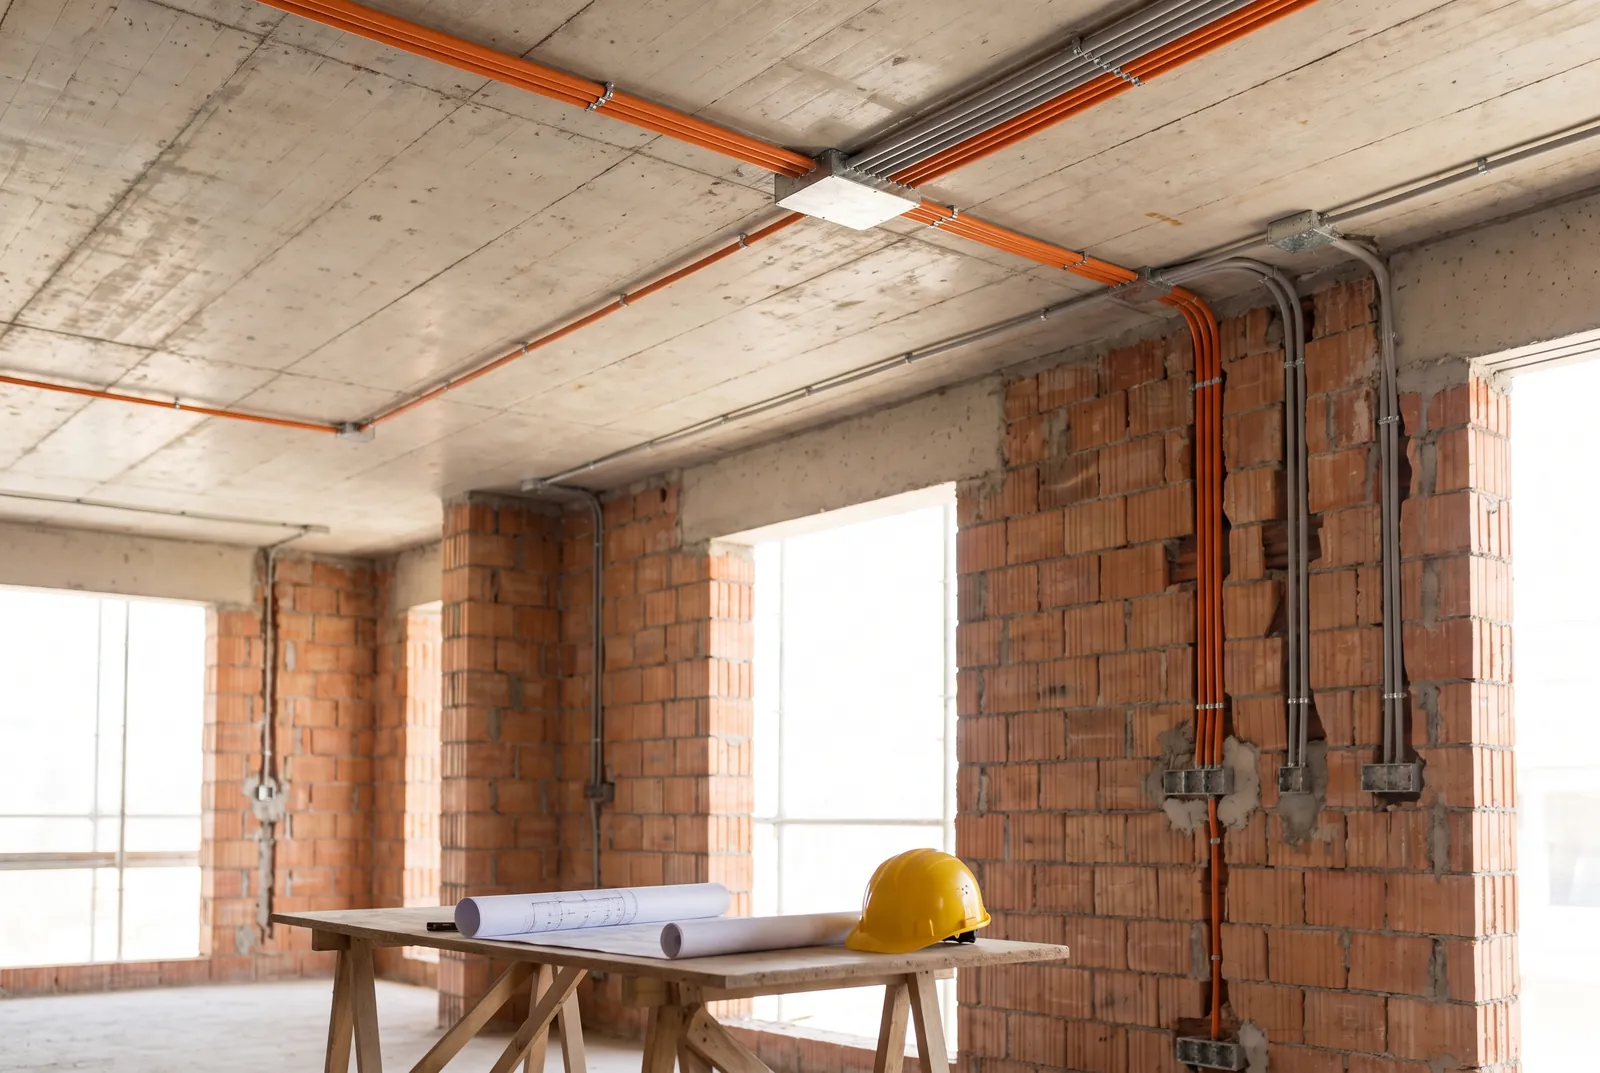
The approved design becomes documents a contractor can build from, tenders that vendors price on equal terms, and checks on site until the handover.
-
Step 06 · Execution
Prepare the design documents
Component placement layouts, wiring design, lighting reports and everything a contractor builds from. Schedules, schematics and details are drawn on the same base drawings as the architecture.
Sheet P-06 · Drawing set -
Step 07 · Execution
Issue requests for proposal
Tender documents shared with vendors, written so their quotes can be compared fairly. Every vendor prices the same specification, the same quantities and the same conditions.
Sheet P-07 · Tender -
Step 08 · Execution
Compare the proposals
Every quoted component checked against the technical specification, warranty and service conditions, so the choice between vendors is made on like-for-like terms and not on the lowest number alone.
Sheet P-08 · Comparison -
Step 09 · Execution
Check quality on site
Several visits during execution, through to the final handover, to make sure everything is done right. Routes are checked before ceilings and walls are closed, and every device against the drawings.
Sheet P-09 · Site visit and handover
Handover. The systems are handed over to the people who will use them, working as they were designed.
03When to bring us in
The earlier we join, the more we can save
A change on a drawing costs a line. The same change on site means chasing walls, reopening ceilings and pulling new cable. We can help at any stage, but the earlier we join, the more of the design we can still shape.
Next step
The earlier we join, the more we can save.
Tell us about the space and where the design stands. We will come back to you to arrange a first conversation.